A struggle for a simpler life captured with a camera

Pokazywanie postów oznaczonych etykietą recipe. Pokaż wszystkie posty

wtorek, 28 stycznia 2014

, ,

Poranne kluski

Niedaleko mojego domu rodzinnego, na trasie spacerowej koło Smutnej Góry nad Zalew, rosną krzaki ostrężyn (albo jeżyn, jak kto woli). Latem zrywa się ich owoce na potęgę, żeby napchać brzuchy, póki miejsca starczy, a z tego, co zostaje, gotuje się sok. Potem, kiedy w ogrodzie pojawiają się wiśnie (a przed powodzią mieliśmy najkwaśniejszą wiśnię na świecie), zrywa się ciemne i błyszczące owoce, żeby – znów – wygotować z nich sok. Tego soku używa się potem do klusek kładzionych.

Kluski kładzione to trochę taka bieda-potrawa. Moja babcia robiła je z mlekiem albo sokiem, z mąki, mleka i soli. Moja mama zaczęła używać płatków owsianych i podawać do klusek bitą śmietanę w salaterce – w takiej właśnie formie najlepiej zapamiętałam tę potrawę.

Na początek trzeba wstawić na gaz kilka litrów lekko osolonej wody, niech się gotują. Na jednego człowieka bierze się ok. 100 ml płatków (ja używam górskich owsianych) ze szczyptą soli, zalewa się dwa razy taką ilością gorącej wody (można użyć mleka, ale ja jestem bezlaktozowa) i czeka, aż płatki wchłoną najwięcej, jak się da. Potem dodaje się jajko i tyle mąki, ile trzeba, żeby powstało eleganckie, gęste ciasto.

Kiedy ciasto jest gotowe a woda w garnku wrze, bierzemy zwykłą łyżkę kuchenną i wkładamy na chwilę do wody, żeby zrobiła się gorąca. Potem nakładamy nią kluski, za każdym razem chwilę obgotowując łyżkę w wodzie, co zapobiega przyklejaniu się klusek. Kiedy kluchy wypłyną na powierzchnię wody, trzeba je wyciągnąć i odsączyć chwilę na sitku, a potem przełożyć do talerza i zalać sokiem.

Oczywiście teraz, zimą, kiedy mam największą ochotę na takie kluski, jeżyn ani wiśni nie uświadczysz. Używam więc porządnych, naturalnych soków z porzeczek, borówek i różnych owoców leśnych (jak np. ten). Jabłko czy pomarańcza to zupełnie inna bajka.

poniedziałek, 16 grudnia 2013

, ,

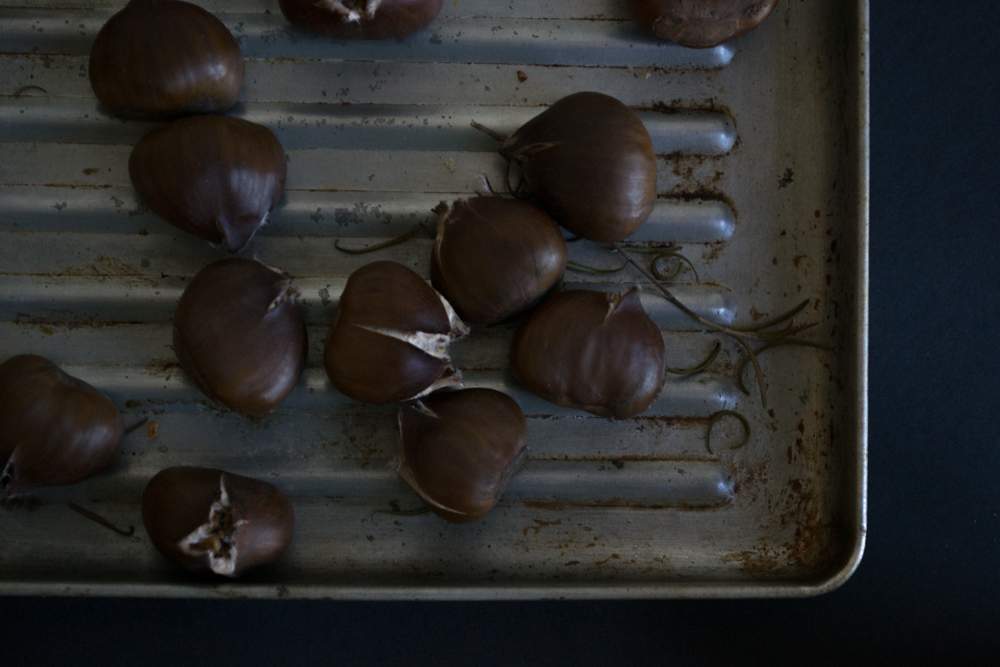
Chestnuts

So simple, so delicious. Just cut them on the top (that's the pointy part) and keep in the oven set to 180°C for 20–25 minutes. Sweet.

poniedziałek, 1 kwietnia 2013

, , , ,

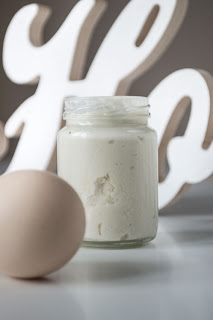
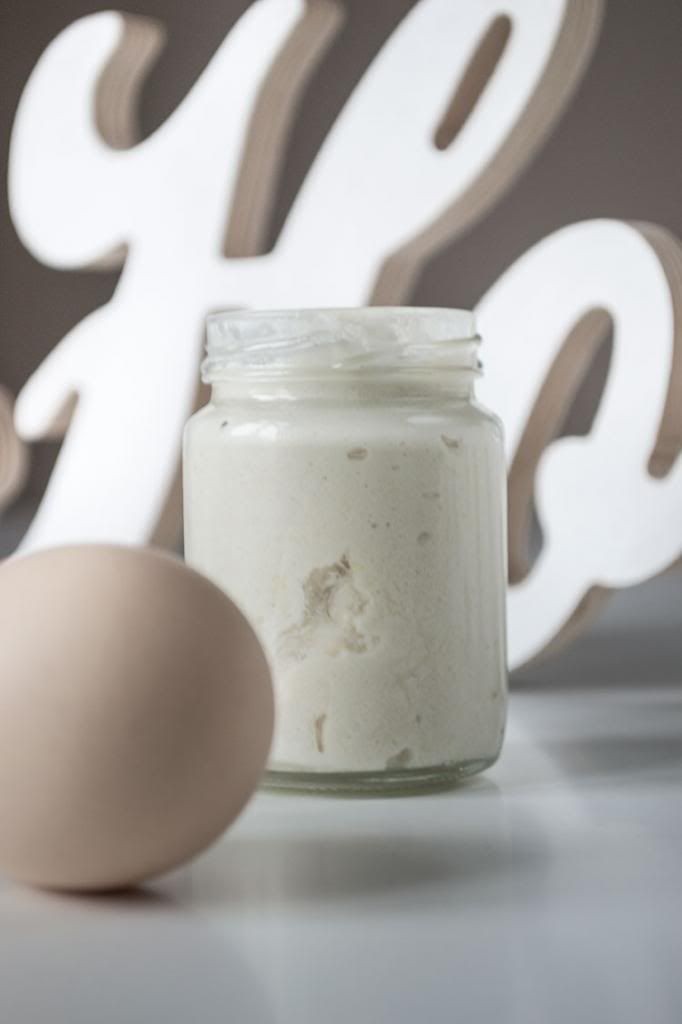
Prepared horseradish

When it comes to Easter food this year, for me it was all about the homemade prepared horseradish. My parents used to make their own one since I can remember (horseradish grows in their garden and it looks like a rather unattractive weed), but I was usually quite indifferent – just not my taste. But this year I started dreaming about a horseradish a couple of weeks before Easter. Maybe because I had changed my diet, or maybe because the weather is more like Christmas and I'm all like SPRING-PLEASE-COME-NOW. So on Holy Saturday I joined my parents to make the prepared horseradish together. It turns out it's super easy.
  1. You need: two horseradish roots, sour cream, lemon juice (1 lemon is just enough), honey or agava syrup (1 spoon) (and yes you can use sugar, but we know sugar is bad and it's better to go for a healthier substitute).
  2. Peel and grate the horseradish. (At this point everybody starts crying, because it's even worse than cutting onion.) Sprinkle it with lemon juice immediately, so that it keeps it's nice white color.
  3. Add sour cream and honey as you please. The more sour cream you use, the milder the dip becomes. We went for extra spicy.
You can keep it in the fridge for a couple of days. It's super healthy, it's good for your digestion, makes you feel fresh and helps you breathe. And tastes good with eggs, so it's perfect for Easter, obviously.


wtorek, 22 stycznia 2013

, , , ,

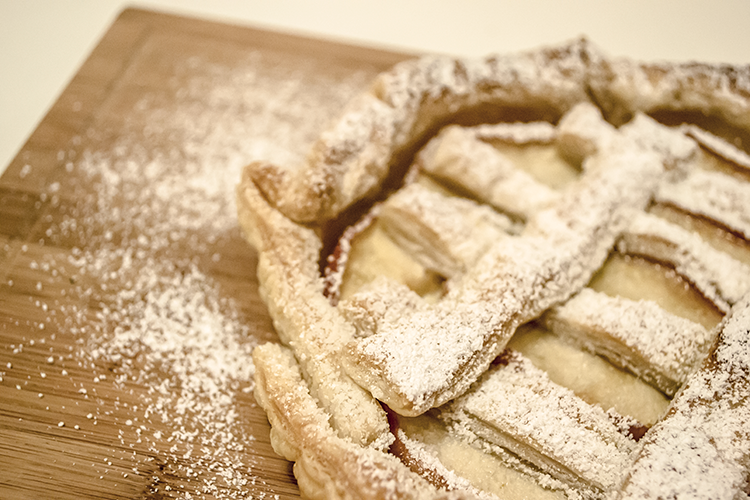
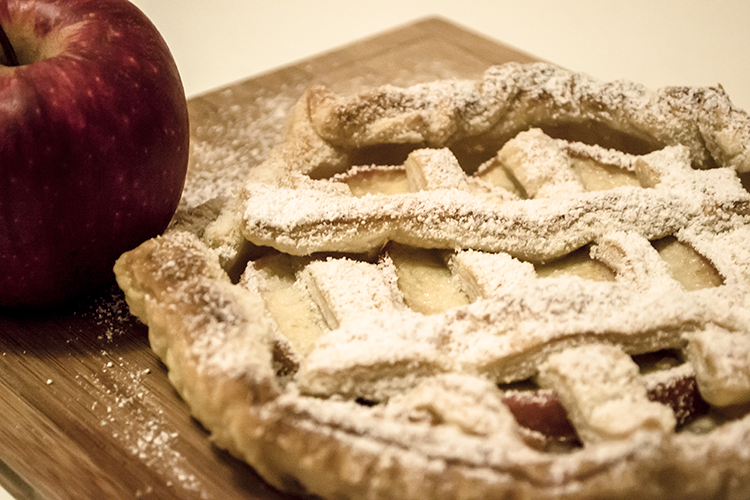
Super easy apple tart

I think Aldona was the first among my friends to lay her hands on Kukbuk – a very hip cooking magazine. I still don't have my own copy but yesterday at BAL I managed to flip through it. Beautiful photos, refined design and clear visual communication immediately won my attention. The way the dishes were presented was really clever. The idea I appreciate the most is giving two ways of making on cake: for maximalists and for minimalists. One was a complicated recipe for a yeast cake with plums (optionally with apples), the other one was a simple tart. Here is the second one as I memorized and modified it.

You will need:
french dough (enough to cover Ø21mm baking tin plus some extra for the top)
one apple
one tbsp of 30% cream
one tbsp of caster sugar
1/2 tbsp of butter

Roll the unfrozen dough to make it thinner. Make little holes in it using a fork. It's a way to make sure that the tart will be crispy, not wet. Spread the butter in the tin. Be generous. Fill the tin with the 3/4 of the dough. If you have more than one sheet, make them overlap a bit. Spread the cream over it.

Heat the oven. 180°C is the right temperature even if the package says something else.

Cut the apple in the slices and do it the way you like. I like half moons so that's how I did it. Place the slices on top of the dough. Put it in the oven for 10 minutes.

In the meantime prepare long and thin stripes of dough. Take the tart out of the oven and use the stripes to make a grid pattern on the top. Put in the oven for another 10 minutes. If the tart is still wet at the one of this time, leave it in the oven for a couple more minutes.

Decorate the tart with caster sugar, let it cool & enjoy your super easy apple tart!

Search This Blog